Tuesday 10 November 2015

A Long Overdue Post

This has been a very eventful year so far and it still is. I've found that I don't really have much time for blogging these days, and instead, I have mostly moved over to my Instagram account and my facebook page for cosplay updates. Those alone are hard enough to maintain.

For now, I will be officially taking a break (it's already been going on for quite a while, though), but if you want to follow me on Instagram or Facebook, here are the links to my accounts:

@ingridbeast on Instagram
Ingridbeast Cosplay on Facebook


I'll leave you with this awesome picture that Heresetai Cosplay took of me on our last photo shoot:


Wednesday 25 February 2015

Royal Kili Progress

I began cutting and sewing in February, and then we started moving into our new flat, efficiently bringing the entire project to a halt, but before that, I actually got quite a lot done!

Starting with the innermost layer, I dived into the production of the blue velvet tunic. This was generally a fairly easy ordeal, as it's a simplified, hoodless version of Kili's signature blue tunic. The only snag was the eyelets for the front lacing and the cuffs on the sleeves, all of which needed to be hand stitched, and the decorative studs for the collar and the hem.

I finished the eyelets for the front lacing, but I've still to do the ones on the cuffs. I've also done enough studs for the collar, but a good deal of them still need to be made, which is both time consuming and rather tedious.


So I moved on to the black velvet over tunic. This too was fairly simple initially, but needs satin lining to allow it to hang smoothly over the blue velvet tunic. In addition to that, I'm adding a trim with the same pattern that's embroidered on Kili's leather jacket in A Long Expected Journey. I've made some of it, but there is still quite a lot left to do.


The "leather" overcoat was a little bit more tricky, but mostly because of the leather imitation I used which could be a little argumentative when introduced to my sewing machine. It too needs lining before I can add the fur details to wrap it up.


Here's a little peek at how the blue and black tunic look together so far:


Tuesday 27 January 2015

New Year, New Start, New Projects!

Last year ended on quite the low, having lost so much in the fire and having had no luck with finding a flat we could buy. However, we were dead set on looking forwards to the future, not lingering in the past, and, after a lovely New Year celebration, just my husband and I, we kept our spirits up as January started, and a sudden rush of flats for sale rolled in. And just one week ago, having fallen a bit in love with a flat we'd visited for a viewing the day before, I entered a bidding round I was almost certain I would lose, as the recommended bid started very close to our financial limit. But then, by some unbelievable strike of luck or circumstance, I ended up being the only bidder, and lo and behold, won! So, 2015 is truly a new start for the two of us as we move into our first, very own flat towards the end of February!

So, long term accommodation secured, I've started a new cosplay project! My lovely friend and fellow cosplayer, Ida, known as Starbit, (check out her DeviantArt account and her Facebook page!) has become the Tauriel to my Kili. She's designed a beautiful dress for Tauriel, which she aims to finish for HobbitCon in April, and it's so beautiful it inspired me to do my own design for Kili to match it!

I present to you; Royal Kili:


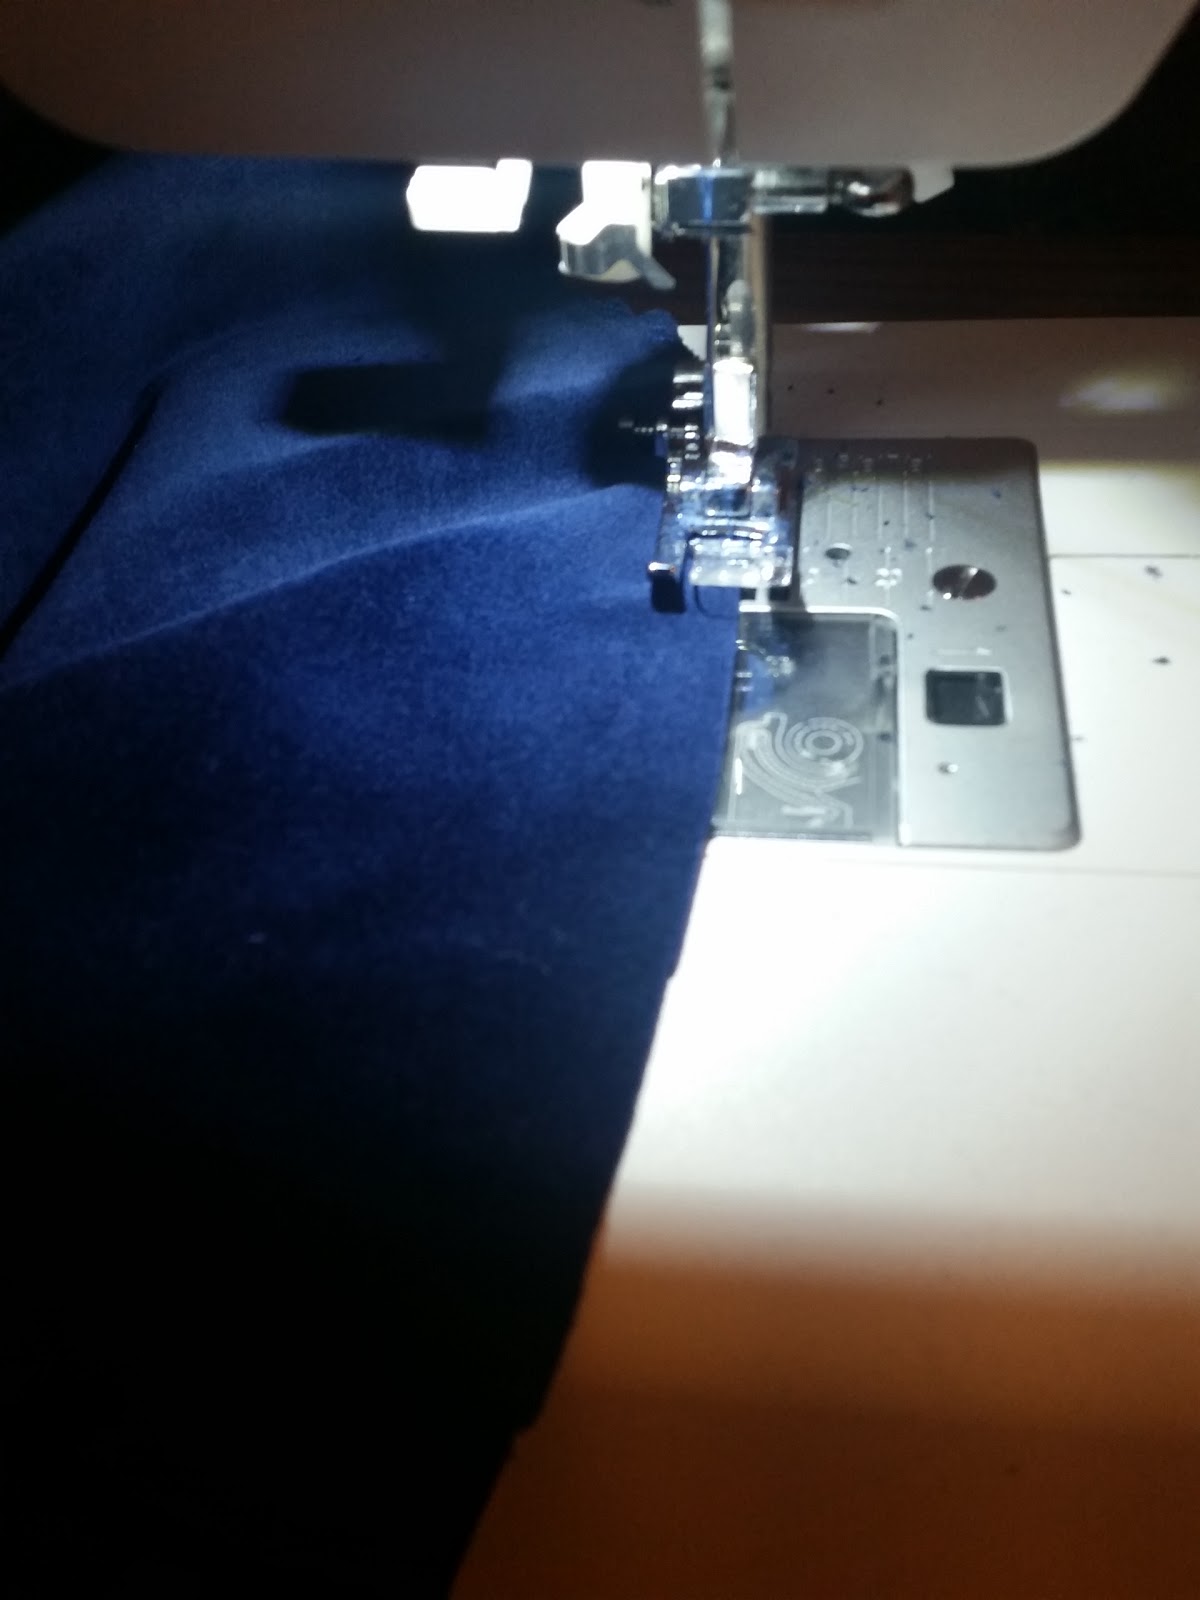
I've bought materials for it already; blue velvet for the tunic, black velvet for the short sleeved over tunic, and leather imitation and fake fur for the over coat! I'll be using the old trousers and boots, as well as the old belt, to make it a little easier for myself. You can see the leather imitation and velvet below (as well as some faux suede for a potential Tauriel update), even though the colour of the leather imitation looks a bit wrong in that light:


Also, check out Ida's design for Tauriel, the Starlight Gown! It's absolutely exquisite!


Monday 22 December 2014

House Fire

I know I've been painfully inactive since the beginning of November, and the reason is that on the 10th of November, we have a house fire in our flat. No one were hurt, the fire didn't spread to any other flats and we have insurance which has covered most of our losses. However, we no longer have a home, and most of our belongings have been damaged beyond repair by smoke, heat or flames.

We are currently living with some friends, who have been kind enough to let us rent their guest room until we find a new place to live. We managed to save some of our belongings, including my husbands wedding clothes (barring the shirt, which was simply too sooty and stained to save) and, hopefully, my wedding dress, although we've been told it has gotten some discolouration which could not be removed in the cleaning process. I managed to rescue out most of my Tauriel cosplay, and Kili's tunic and trousers have come through whole, but I have yet to find out if all the leather work has made it through. My viking gear and some of my linen dresses have also been saved, so have some of my recent self made clothes. The rest had to be thrown. All my other cosplays are gone, and my 12 year old, reliable sewing machine also corked it. And on top of it all, I went down with bronchitis and then sinusitis, knocking me out for almost six weeks. After two rounds of antibiotics and now working through my third, I'm slowly getting back to health.

In spite of this, we are trying our best to look forward and focus on the positives rather than dwelling on what has past. This certainly has give us a kick in the butt to go looking for a place to buy, and with a very generously low rent on our friends' guest room, we have the opportunity to save a lot more than we normally would have been able to. Most importantly, we have gotten tremendous and overwhelming support from both family and friends, so, all in all, we consider ourselves lucky. We've taken a big blow, but we're still standing.

On a positive note, the insurance money have granted my a new, updated sewing machine, this time with a gorgeous embroidery module and lots of exciting functions I have yet to try out! So, I'm getting back on the costuming horse too, slowly but surely!

Thursday 6 November 2014

Steampunk Wedding Dress - Bolero/Shrug

About two weeks before the wedding, I felt like my outfit was missing something, that little extra that wraps it all up. So I set out to make a bolero, or as some call it, a shrug.

I made the pattern using an old waistcoat and cotton, and then cut out two sets (one in green silk and one in brown silk) so that I could mix and match the pieces to make it multi coloured. I stiched it all together and added ruffles on both shoulders and ruffles as a collar. Then I stitched on buttons on the front and two on the back, and that was it! Bolero done!


Tuesday 4 November 2014

Steampunk Wedding Dress - Bustle Bling!

After I finished the brown apron skirt, I started on the decorations for it! As it was, it looked very dull and like it was sorely missing something, so I played around with different ideas and ended up with a two layered solution. The first layer was simply half circle, brown silk lined with green, which I folded on either side. The other layer was a little more complex. This too was two sided, green on one and brown on the other, and involved both buttons, a thin golden rope (it was originally too thin, and I hand spun it to twice the thickness) and handmade golden tassels.

I made a pattern with the rope, pinning it in place while I hand stitched it on, as well as the buttons. Then, I attached the tassels to the rope. Realizing that the piece I had made wasn't wide enough for me to attach it to the buttons on the skirt with button holes, I stitched on a loop of gold rope on either side and made a button hole on the middle of the top ridge.

It's all a little difficult to explain, so here's some photos of the result that may help you visualize it:


Steampunk Wedding Dress - The Brown Apron Skirt

Gosh, I am so waaaaay behind on my blogging! It's been a little busy lately as the wedding was last Friday and the entire week was spent in England with limited access to internet and a lot of preperations to do!

When the wedding photos arrive, I'll be posting up some proper pics of the dress in it's full splendour here, but let's not get ahead of ourselves. ;)

First up! The making of the brown apron skirt, which went on to of the green skirt.


Yet again, I made a cotton mock-up first to have a pattern to go by. I based it off the mock-up for the green skirt, but with some quite considerable changes. The back of the skirt had no gathering and consisted of three smooth panels with a hint of a mermaid cut. the front part was made out of three panels as well with some extra width as it was to be gathered vertically where it met the back part of the skirt, and at the two seams of the middle panel, I made upward folds where I later stitched on buttons to hold them up.


I made the closing relatively similar to the green skirt, only without any buttons. Instead, I made it so that it attaches to the buttons of the green skirt, which also makes sure that it doesn't slide out of place. On the bottom of the back panel, which forms a bit of a train, I added more ruffles and a brown velvet ribbon for some texture contrast.

On the  sides, where the front panel meets the back panels, I added handmade flowers (made from the same green silk as the green skirt) with facet cut beads to hide the seam and add some colour contrast and bling!