
Moving on, I started from scratch again with regards to Kili's jacket because the split leather was simply too thick and the suede finish just didn't work, so instead I found two pairs of leather trousers in a second hand shop and got them for a very decent price. They were so fabulously 80's - early 90's that I had to take a photo of at least one of them:

What's more, one of them had a little colourful surprise:
If this is not the worlds ugliest lining, then I don't know ...


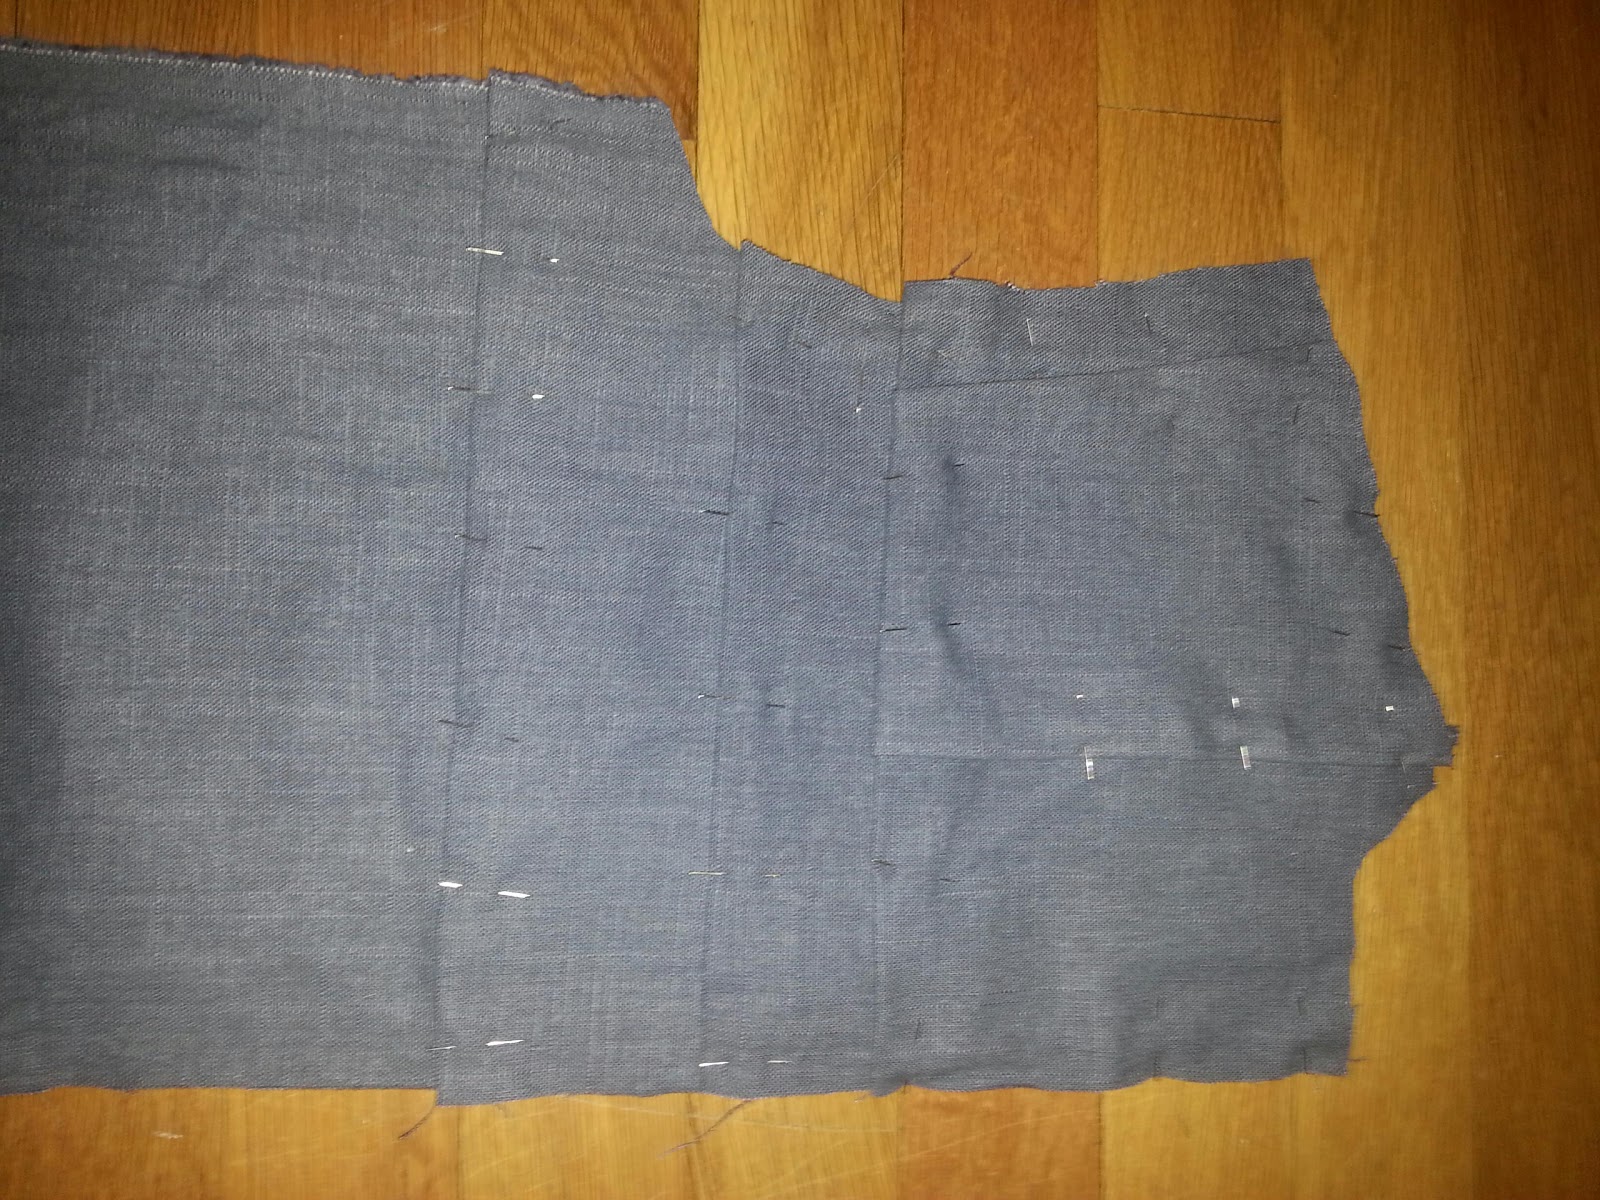
 I took the trousers apart, splitting each into four pieces, which I then shuffled about and stitched back together again to make the basis of the jacket. Once that was done, I needed to finish the trim to be able to continue, so I picked up where I left it last time and started to add the blue material to the edges:

I realized quickly that it wouldn't look very good if I simply stitched it on, either by hand or machine, so, instead, I did a second layer of the golden zig-zag seam, only a tiny bit wider so as to fasten the blue material along with it.
 Once that bit was done, I hand stitched the material to the backside so that it would look all nice and neat with no visible seams on the front.
When that was done, I started the work of fitting it onto the base of the jacket:

Having carefully pinned it to the leather, I proceeded to stitch it on by hand, and I tell you, this is a job where a thimble, a pair of hobby tongs and a lot of patience is needed!

As you can see on this photo, I decided to attach it so that the trim was sticking a bit outside the leather. This was simply because I hadn't had enough leather to get the exact width I needed, and this added the missing inch.

Because I know it's something Kili cosplayers have been discussing, I thought I'd address the matter of the trim vs. neckline issue by showing how I approached it. I went for the solution of folding the trim in on itself to make the corners, and I feel like it turned out quite nice.
 Once the trim was done, there was only the matter of the gambeson sleeves left. From my research, I had found that these were only partially attached, with gaps under the arms for greater flexibility. I'd trimmed the armholes of the jacket basis with plain, black cotton trimming before I started attaching the sleeves.
Again, thimble, tongs and patience were my friends, but I'd still say this costume is taking it's fair share of blood, sweat and tears. ;)

That's all for now! Next post, I'll be showing you how I made Kili's belt and pictures from the hair test with what was finished of the costume at that point! :)


