So, having made what I'd like to call a "first draft" of the blue tunic (I'll be doing a new one once I get hold of the right material, which I suspect to be linen, or wors, natural silk), I can start my work on the next layer; the under coat, or actually, as it turns out a leather vest with gambeson sleeves. Having done some research, and stumbling across this awesome blogpost describing both the making of a medieval gambeson and testing it gor it's usefulness in battle, I've decided to go for the layered method for the sleeves. However, I'll be using cotton rather than linen due to my budget. For the leather, I will use some more of the suede hides I got for a bargain price. I'm still not certain what to do with regards to the trims, but I suspect I'll be buying some wide velvet trims and simply sew the dwarven pattern on myself (just need to get thread with the right yellow/gold hue).
Here's what I've got so far:
Gambeson sleeves:
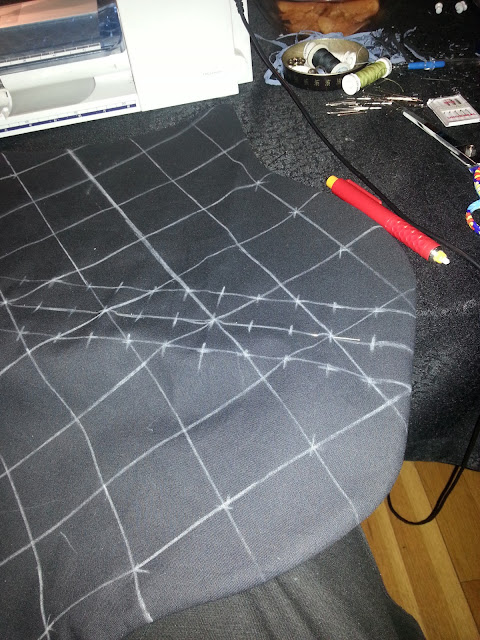
I first cut out five layers of material, then aligned them all, stitching the top and bottom together. Turning them inside out, I ironed them so that the hems were all nice and neat. From there I started the work of sketching up the seams:
After the sketching job was done, I pinned all the layers in place:
Here's the result:
And when the last edges were sewn together, this is how it looks:
A it turnes out, these may be a little too tight and a little too short, so I'll probably have to redo them, which is why I didn't add the last vertical seams as seen on the original. However, this was a useful test run and I've learned a lot (and broken a lot of machine needles). From here, I will be moving on to the trimming and the leather.


No comments:
Post a Comment