Showing posts with label tunic. Show all posts

Thursday, 5 September 2013

Kíli Project - Tunic Finished!

It's taken a lot longer than expected, but finally the blue tunic is done! It took a lot of material and lot of broken machine needles (seriously, if you're using linen and are sewing it in multiple layers, make sure you have needles meant for leather for your machine, because this stuff is tough, as in "meant to stop arrows from penetrating it"- kind of tough!), but here's the final result, modeled by my very own handsome dwarf!

 I made the lacing out of a long strip of the same linen, hand sewing it into the cord you can see on the photo.


The eyelets too are hand sewn, a painfully long process, but it looks so much better as a result.

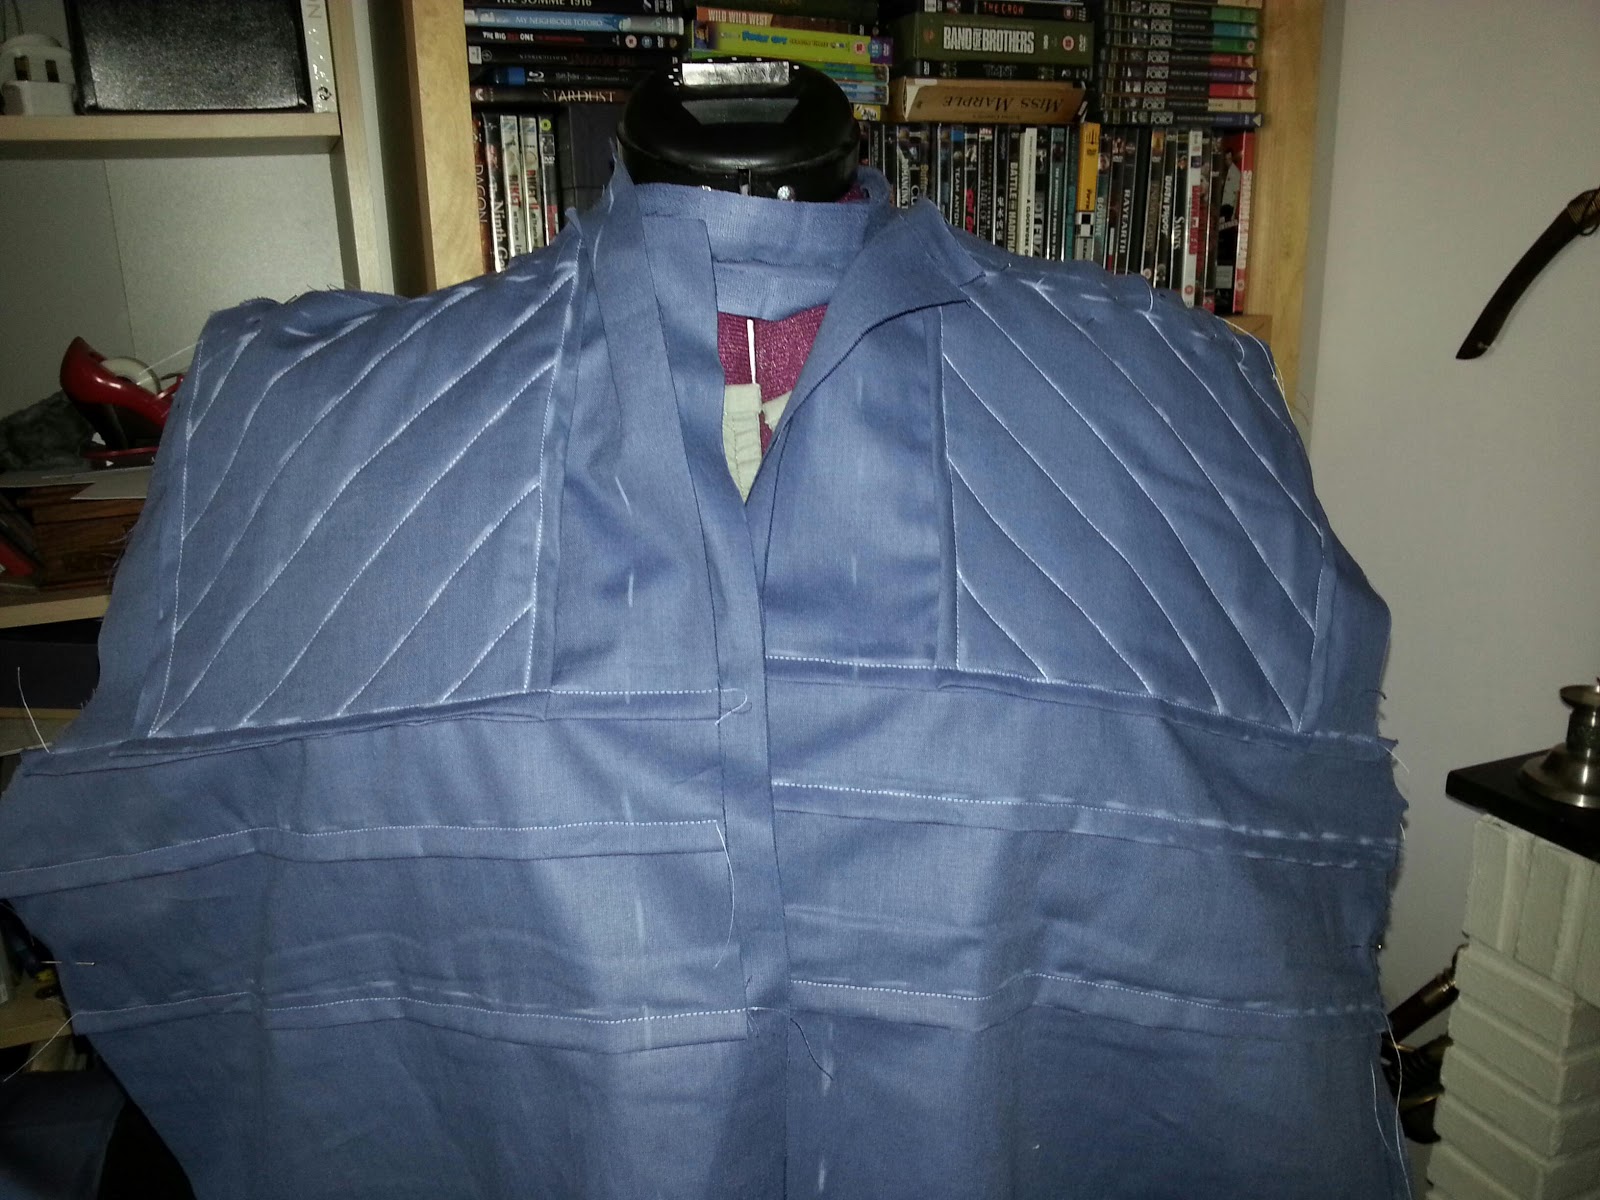
The hood, although you can't really see it in this photo, is pleated and attached to a short, Victorian styled collar, and ends in a point at the back.

The gambeson bits on the shoulders came out looking a lot better on him, than it did on the mannequin, so I'm really pleased with that!

I'm not quite sure what I'll be focusing on next for this project, but I might just go for the boots, or in my case, boot covers. We'll see. ;)


Tuesday, 28 May 2013

Kíli Project - Tunic 0.2

Finally getting back into this project,  I've started remaking the blue tunic, this time in linen, which is far more satisfying than the dreadful cotton.

Having measured up and cut out the pieces for the front and back, , however, I realised there probably won't be enough fabric for me to do both rhe sleeves and the hood, so today will take me on yet another trip to the fabric shop. :p

This is how much I managed to do before running out of material, though:

Having learned a few lessons from the last attempt, I'm using three layers of material for the front piece, plus a fourth layer for the gambeson pieces at the shoulders. This will pad the whole thing up and give it the rigidity around the shoulders seen in this photo. It also makes sense to pad the chest area with you several layers of linen as this would serve as extra armour and protection against weapon penetration.

Also, having studied the video blog material on my precious Blue-Ray of The Hobbit, I finally found some shots of the back of the tunic, allowing me some further insight into how it's been constructed. As I'm loathe to post images on my blog that I do not have the rights to, I'll post the sketch I made from the still instead, which illustrates the extra layer on the shoulder area on the back piece:


It now looks like this:


Front piece stitched together (I know, the gambeson piece is far too small, but I cant be bothered redoing it again):


I will return to you with more updates once I have grabbed some more material and made further progress! :)

Thursday, 7 March 2013

Kíli Project - Tunic

So, I've started on the tunic, thinking it wise to begin with the innermost layer and work myself outwards. I'm not at all happy with the material I've got for this (greyish blue cotton with a hint of lavender), so I might actually redo the whole thing on a later occasion, however, I can't really move on to the next layers without it, so for now, it'll have to make do.

First off, here's my work sketch for the tunic:
And here's the progress so far:

Measuring everything up and drawing guidelines with chalk before cutting. (lousy photo, I know)

Cutting out the second layer.


Attatching the third (and padded) layer.
 
Sewing everything together, securing the padding in the third layer with diagonal seams.
 
The two front pieces with all three layers.

Front pieces attached to back piece and sleeves.


Almost there! Just the hood, hems and front lacing left! :)