Tuesday, 28 May 2013

Kíli Project - Tunic 0.2

Finally getting back into this project,  I've started remaking the blue tunic, this time in linen, which is far more satisfying than the dreadful cotton.

Having measured up and cut out the pieces for the front and back, , however, I realised there probably won't be enough fabric for me to do both rhe sleeves and the hood, so today will take me on yet another trip to the fabric shop. :p

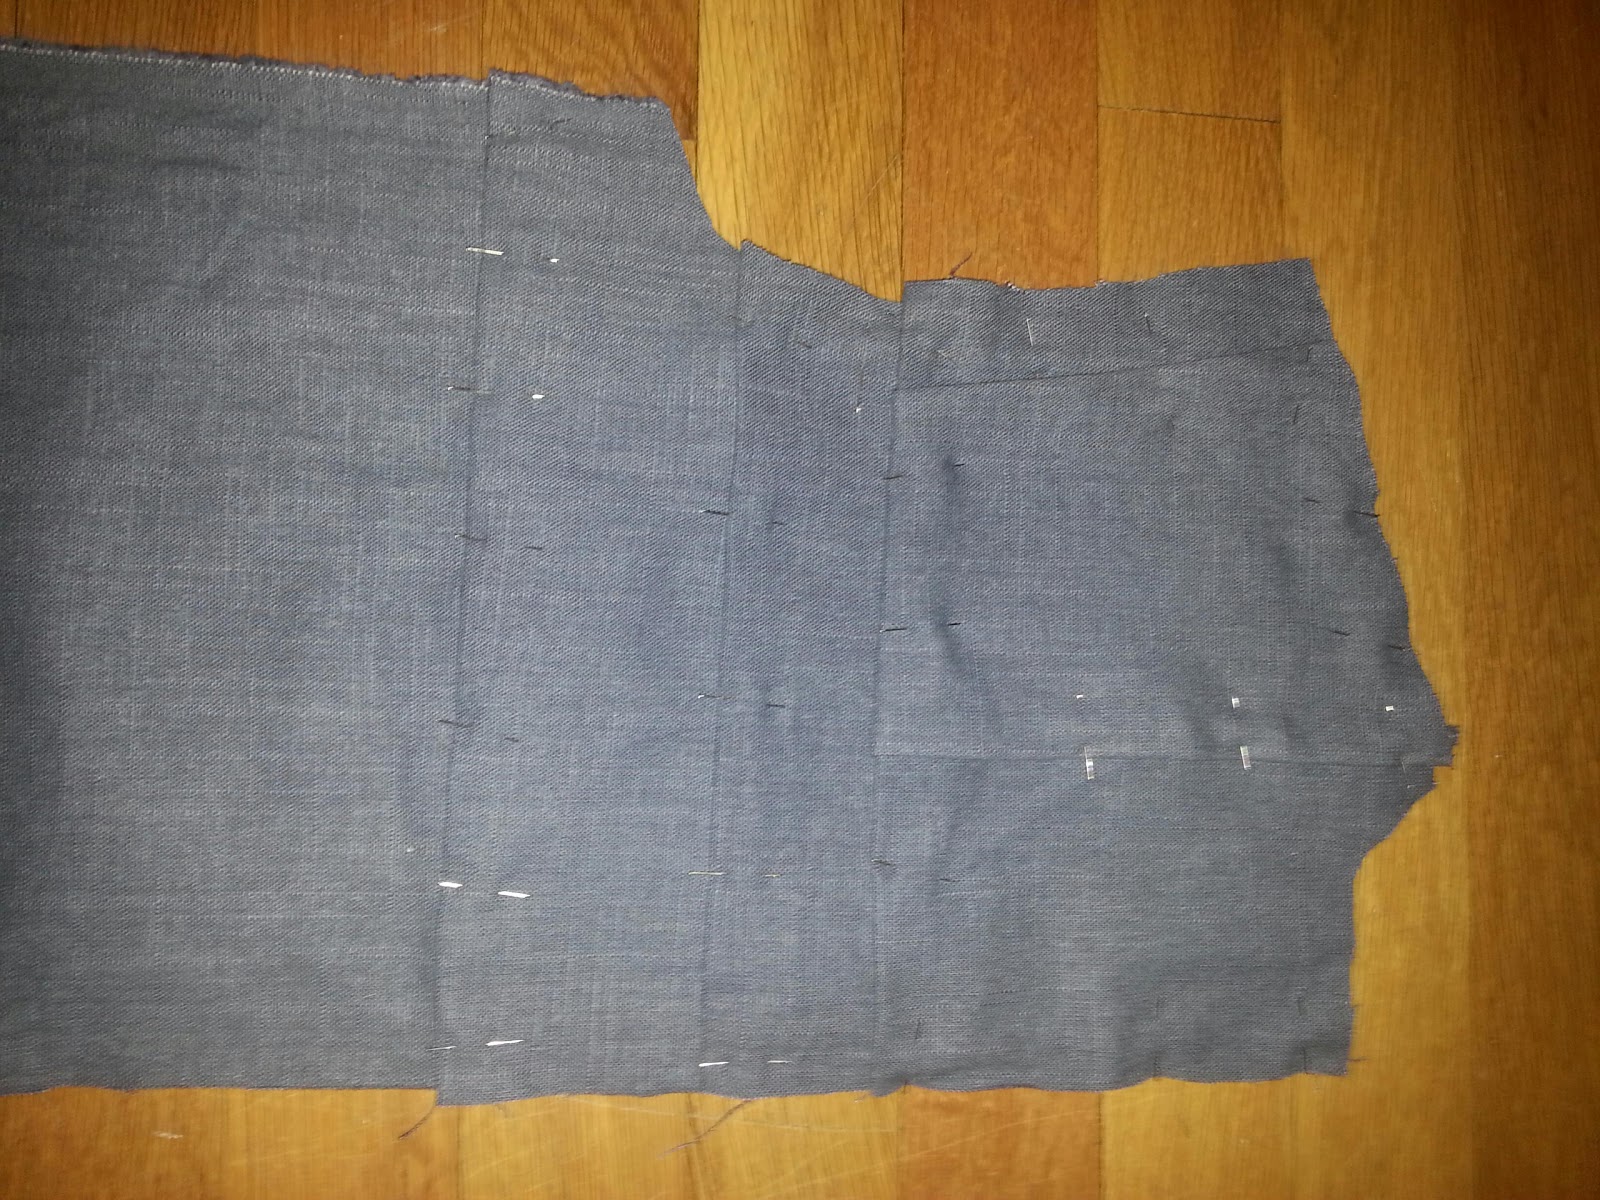
This is how much I managed to do before running out of material, though:

Having learned a few lessons from the last attempt, I'm using three layers of material for the front piece, plus a fourth layer for the gambeson pieces at the shoulders. This will pad the whole thing up and give it the rigidity around the shoulders seen in this photo. It also makes sense to pad the chest area with you several layers of linen as this would serve as extra armour and protection against weapon penetration.

Also, having studied the video blog material on my precious Blue-Ray of The Hobbit, I finally found some shots of the back of the tunic, allowing me some further insight into how it's been constructed. As I'm loathe to post images on my blog that I do not have the rights to, I'll post the sketch I made from the still instead, which illustrates the extra layer on the shoulder area on the back piece:


It now looks like this:


Front piece stitched together (I know, the gambeson piece is far too small, but I cant be bothered redoing it again):


I will return to you with more updates once I have grabbed some more material and made further progress! :)

Wednesday, 8 May 2013

Etsy Shop

There's not been much progress on the Kíli front, I admit. Life and the building of a career  has come in the way, and stolen time from it, although, I promise I'll be getting back on track soon! One of the reasons taking me away from the project is my brand new Etsy shop! It's named Chameleon Candour after this blog and it's where I'll be selling stuff I make and possibly even take some commissions.

There's not really that many listings there currently, but I'm working to remedy that coming up with new ideas for products and posting new listings as they take shape. For now, it's mostly products made out of suede leather, but there may be some other materials popping up later on.

Here's some pics of some of the things I've got listed there so far:


Please pop by and have a look around! :)

Chameleon Candour

Tuesday, 16 April 2013

Kíli Project - Under Coat: Leather Vest and Trims

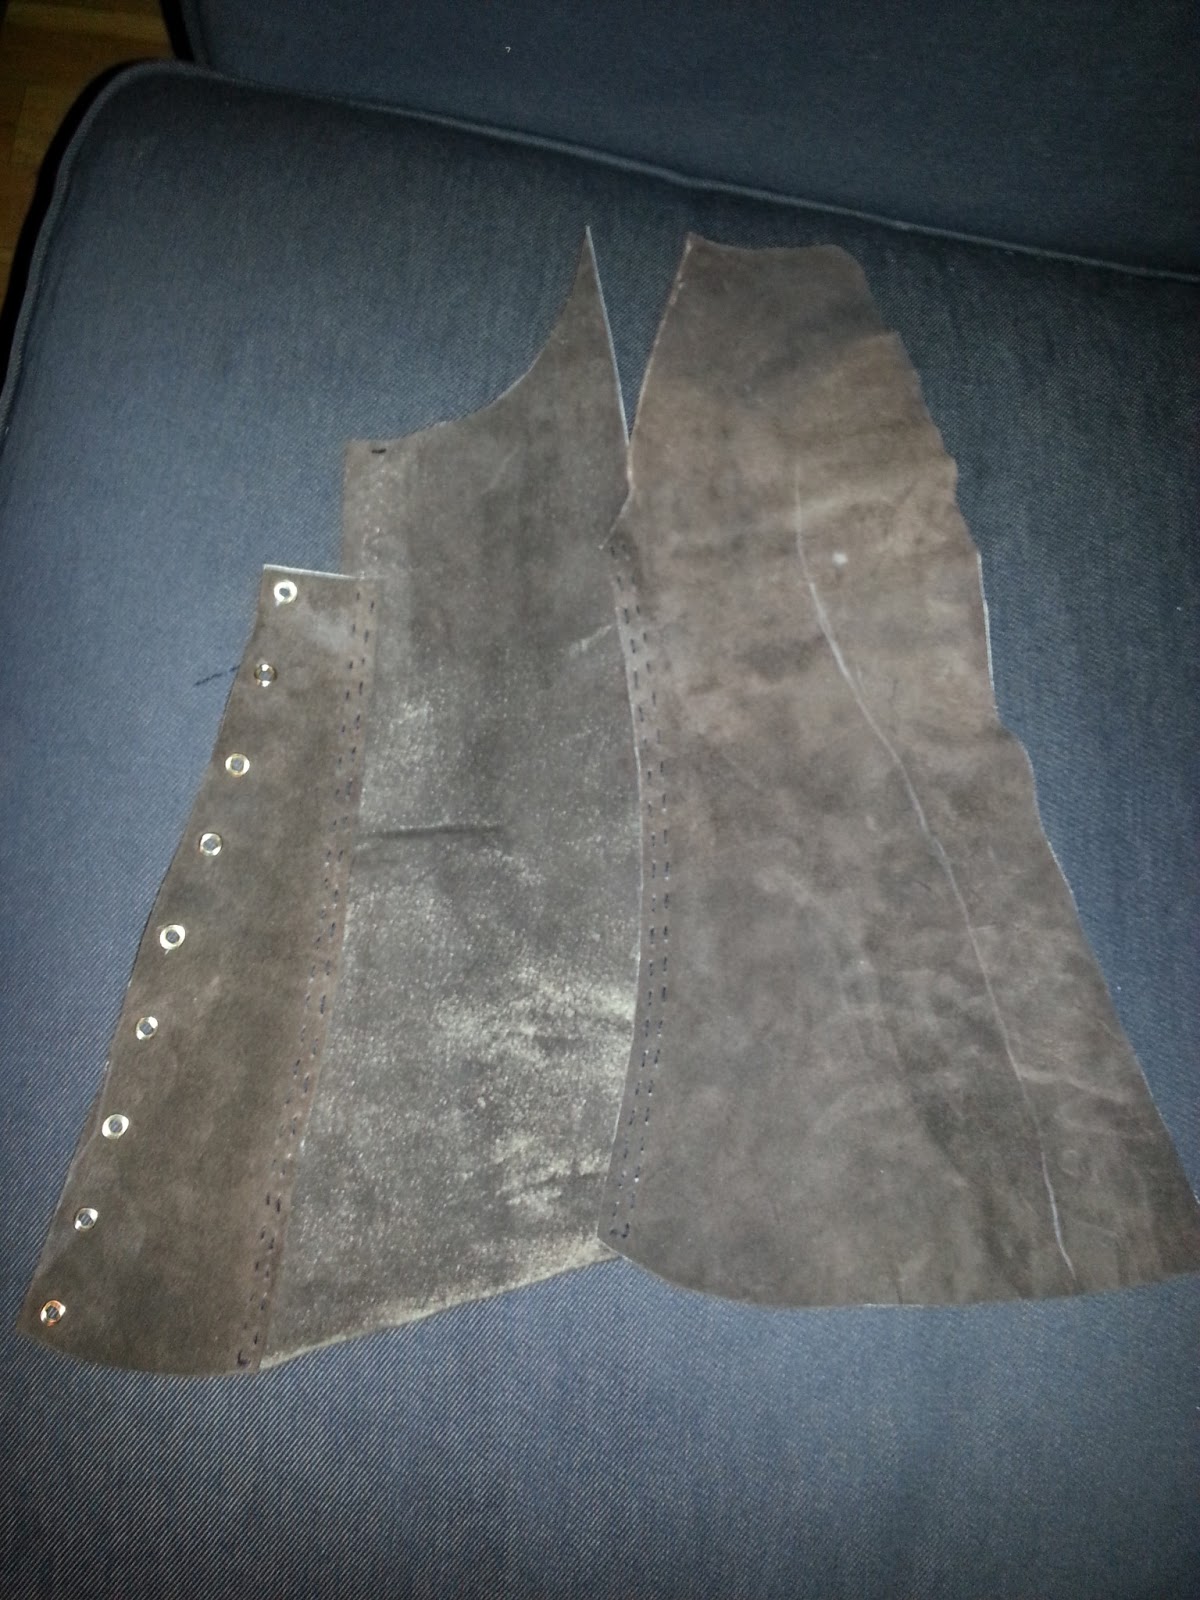
I've been working on the under coat lately and more or less finished most of the leatherwork, barring the hems and the surface finish (I'll most likely paint it to make it look less suede). This si what I've got so far:

For the center back seam I had to help ease the leather with some water to flatten it enough to sew it down:
 Here's the result:
 Front view (it still needs a litte cutting to adjust the front opening):
The shoulders turned out a lot more raised than the original and I'm pondering how to deal with it without affecting the mobility of the arms ...

Not being able to go much further with the leather without a fitting first, I dived into the task of sorting out the beautiful, but painfully intricate trims. I've decided that I'll only be happy with the exact same pattern and it has to be embroidered, so there is no way around doing it all from scratch.

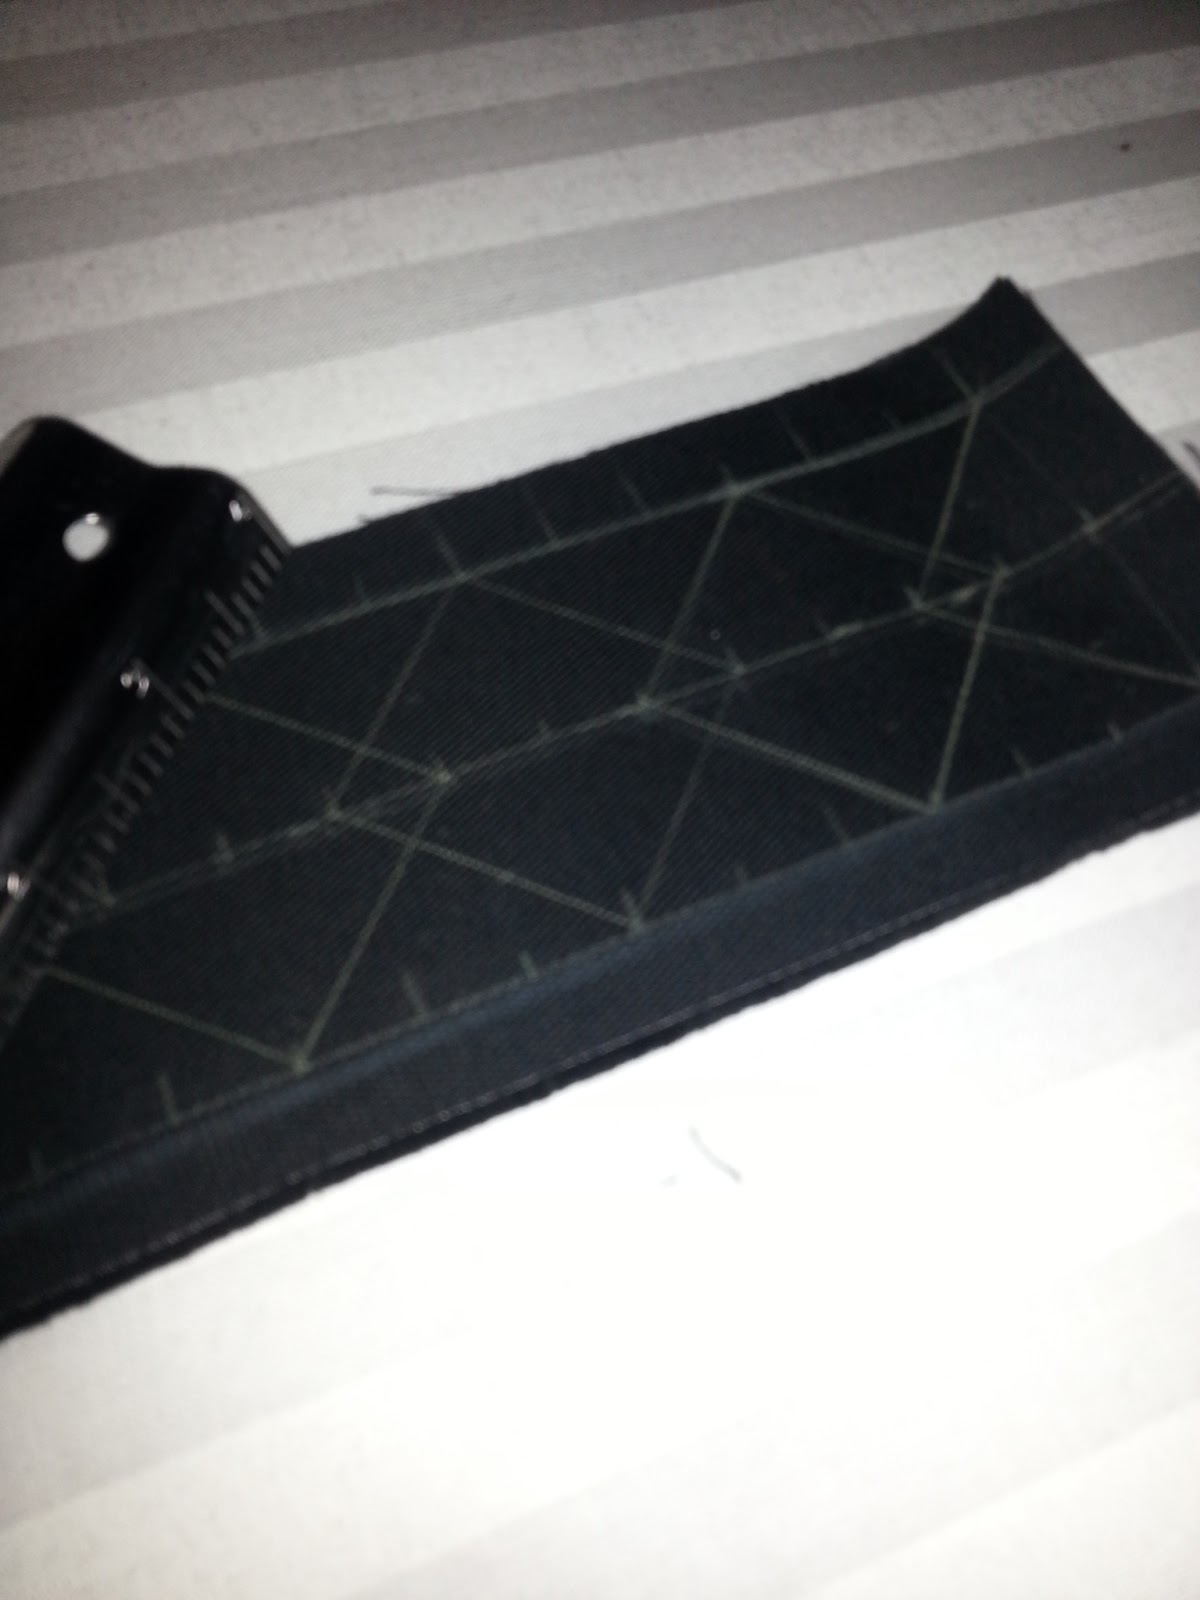
I started with some lengths of solid cotton canvas and begun the job of sketching up the pattern:


Havong finished sketching up the pattern, the next step was for the sewing to commence.

Having looked at the original trims the "zig-zag" pattern was sewn on first, so that's where I began:


On the original pattern, the squares were sewn on thereafter, each overlapping the last (and because I'm a bit OCD when it comes to this stuff, that's how I did it. Unfortunately, I didn't have enough thread to finish it off, so the rest will have to wait until tomorrow, but I'm quite pleased with how it looks so far:

And that's all for today! Now, I'll head out to the pub for the Tuseday Irish Session! ^_^

Tuesday, 9 April 2013

Kíli Project - Under Coat

So, having made what I'd like to call a "first draft" of the blue tunic (I'll be doing a new one once I get hold of the right material, which I suspect to be linen, or wors, natural silk), I can start my work on the next layer; the under coat, or actually, as it turns out a leather vest with gambeson sleeves. Having done some research, and stumbling across this awesome blogpost describing both the making of a medieval gambeson and testing it gor it's usefulness in battle, I've decided to go for the layered method for the sleeves. However, I'll be using cotton rather than linen due to my budget. For the leather, I will use some more of the suede hides I got for a bargain price. I'm still not certain what to do with regards to the trims, but I suspect I'll be buying some wide velvet trims and simply sew the dwarven pattern on myself (just need to get thread with the right yellow/gold hue).
Here's what I've got so far:

Gambeson sleeves:

I first cut out five layers of material, then aligned them all, stitching the top and bottom together. Turning them inside out, I ironed them so that the hems were all nice and neat. From there I started the work of sketching up the seams:


 After the sketching job was done, I pinned all the layers in place:

Here's the result:

And when the last edges were sewn together, this is how it looks:
A it turnes out, these may be a little too tight and a little too short, so I'll probably have to redo them, which is why I didn't add the last vertical seams as seen on the original. However, this was a useful test run and I've learned a lot (and broken a lot of machine needles). From here, I will be moving on to the trimming and the leather.

Friday, 5 April 2013

Kíli Project - Tiny, Almost Insignificant, Update

I've really been focusing a lot on my music lately, which has put the Kíli Project a bit on hold, but yesterday, I got a little boost of inspiration as I read a blogpost by my lovely and talented  friend Therese (not only is she an excellent seamstress, make-up geek and generally delightfully nerdy, but she also has an amazing singing voice!) about her self-made Merida costume.

For the blue dress, she had used linnen, and the colour was perfect for Kíli! This obviously got me way more excited than anyone should be allowed to be about a bloody fabric, and I started interrogating her about it. Turns out, she bought natural coloured linen and dyed it herself, however, the perfect woad blue result she got was actually just a normal "stuff it all in the washer and see what happens"-dye.

Feeling very relieved at the fact that I might actually not have to go through the whole messy process of using natural dyes to get the right colour (I do still want to work with natural dyes at one point, but I'd rather it be for a project without a particular time limit on it), I'm really looking forward to pick up where I left! I will get back to you as soon as there is some real progress to write about! :)

Wednesday, 27 March 2013

The Musical Path

I've been rather lukewarm to the idea of creating a Facebook page for myself as a musician, always feeling it's a bit awkward, but having been told by so many people lately that I should, I've kind of given it a shot:

Ingrid Windsland

 It feels a little bit embarrassing, and yet, at the same time thrilling every time someone presses the "Like" button. In some way, it suddenly feels like I've convinced myself that I am indeed starting to take myself as a musician seriously, which is something I've sort of postponed for a long time, using arguments such as "not enough time", "not enough money" and "not enough talent". But now that I have the time and the money, and people have been giving me a constant stream of positive feedback and encouragement, I guess I've just decided to put it to my peers to judge whether I have the talent or not.

It's healthy to have a dose of self-criticism, and healthier still to allow your peers to be honest critics as well, but if you spend your life with the mindset that if you're not the absolute best in what you do, you are nothing, then you'll never get anywhere. Just because someone else is a great singer, it doesn't make you a bad one. ;)

Since I finished drama school a few years ago, I've not  really considered seriously getting into anything artistic, brushing it aside as something that was unattainable, but now I'm finding myself really wanting this, feeling that the only thing I actually want to do is music. I'm realistic enough to know that it is unlikely I'll be able to make a living out of it, but that's utterly irrelevant; I just want to sing my songs, not make tons of money on them. Don't get me wrong, if I end up making tons of money on my music, that's great, amazing even! But the point is that it would be a bonus, not the goal.

So, I'll continue working towards a bigger repertoire of self-written material, getting it recorded with proper equipment (and not just with a recording app for my mobile phone) and uploaded on SoundCloud, and hopefully one day have enough music to start doing gigs here and there.

In the meantime, though, I'll entertain myself with the insanity of my costume projects and other shenanigans! ^_^

Friday, 22 March 2013

Archery Glove

Being slightly tired of project Kíli, I felt the need to do something different, and as I'm heading out to test my new bow this weekend, I figured I might as well make something useful. So, I made an archery glove for my bow hand with protection for the arm. There is no "window" or "shelf" for the arrows to rest upon on my bow, so I needed something that could protect my hand where the arrows will be resting. I gathered up some of the excess leather and got to work!

First I cut the two main pieces and, using an awl, made holes for stitching. I proceeded with needle and thread and repeated the process on all five pieces.


 Before I stitched the last piece on, I punched holes and fastened eyelets onto one of the sides (this so that I could check that the distance between it and the opposite lacing piece would be sufficient).


 Then i stitched on the opposite lacing piece, did some adjustment cutting, stitched on the last bit that would protect the fingers, and (far too early in the morning) I was done! :)


 Although a few days earlier, I also made this little pouch for my phone!